



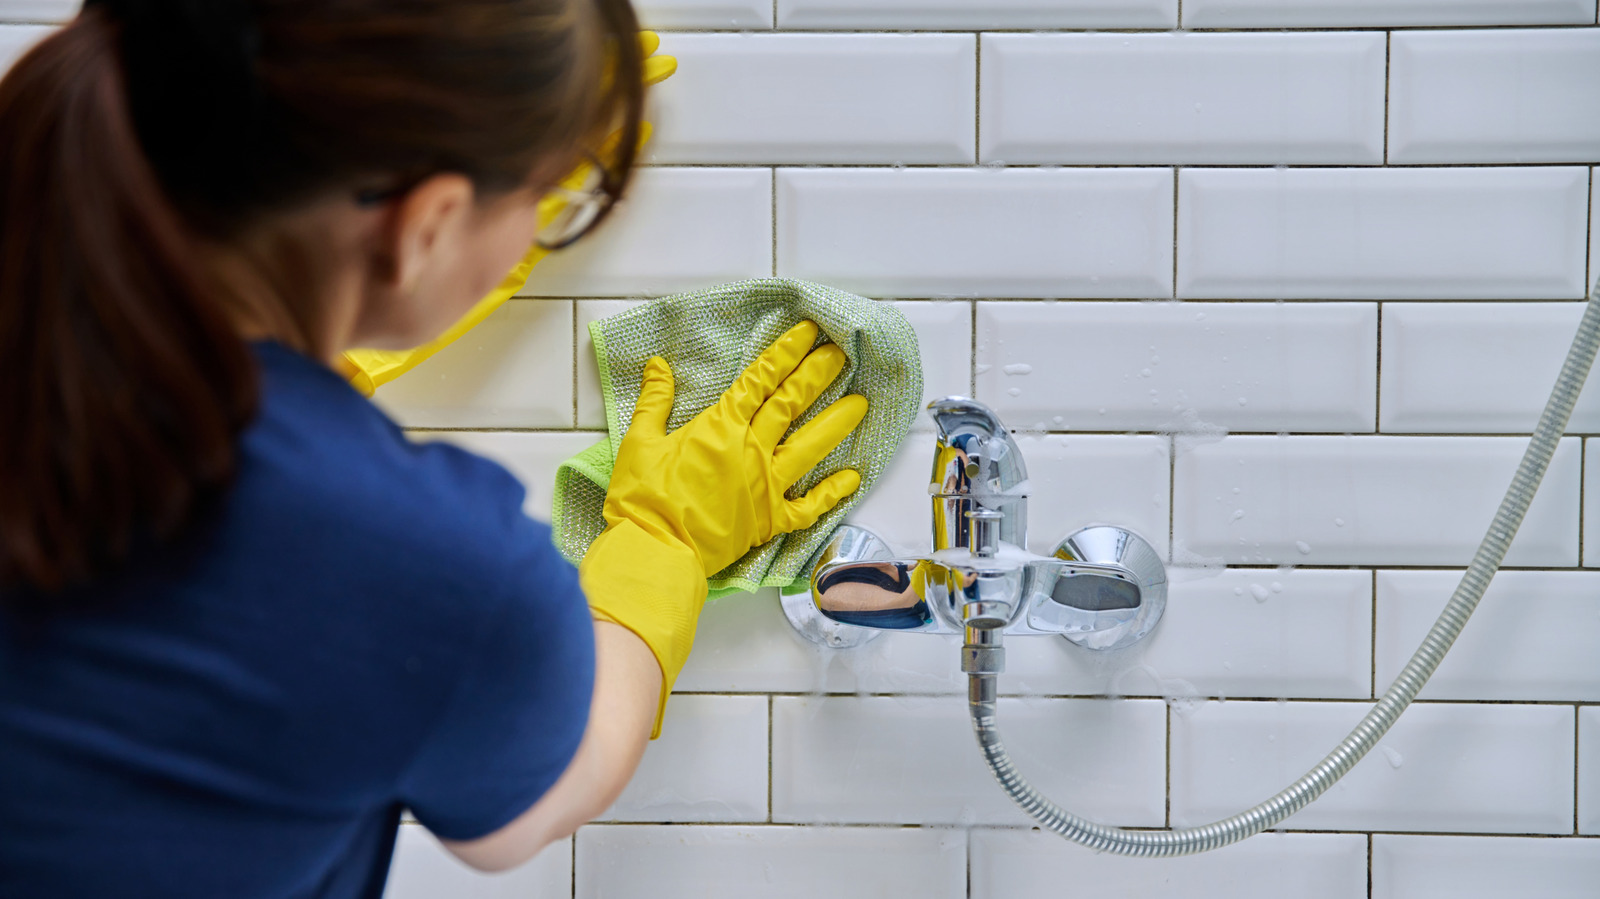
Master the art of deep sanitization with proven techniques, proper chemical dwell times, and expert insights from seasoned local cleaning professionals.
Sparkling Clean Kitchen Countertop and Modern Bathroom Mirror
Keeping a home fresh, orderly, and hygienic is a top priority for modern families. However, there is a fundamental difference between a space that merely looks tidy and one that is thoroughly sanitized. Kitchens and bathrooms serve as the central hubs of daily activity, making them primary hotbeds for bacterial accumulation, foodborne pathogens, mold spores, and cross-contamination.
While routine surface wiping removes visible dust and breadcrumbs, true sanitization requires an understanding of micro-biology, proper chemical contact times, and color-coded workflow protocols. Professional cleaners rely on structured, science-backed steps to convert high-use wet areas into safe, pristine sanctuaries. Below, local residential cleaning technicians share their inside strategies for deep cleaning kitchens and bathrooms with professional efficiency.
Understanding the Core Difference: Cleaning, Sanitizing, and Disinfecting
Before grabbing a spray bottle and a roll of paper towels, it is essential to distinguish between the three levels of surface hygiene:
- Cleaning: The physical removal of organic debris, dirt, grease, and dust using soap, water, and friction. Cleaning reduces microbial load but does not necessarily destroy bacteria or viruses.
- Sanitizing: Lowering the number of germs on a surface to levels judged safe by public health standards. Sanitization typically reduces bacterial growth by 99.9%.
- Disinfecting: Using EPA-registered chemicals to deactivate and kill 99.999% of pathogenic fungi, bacteria, and viruses on non-porous surfaces.
Most homeowners make the common mistake of spraying a disinfectant and immediately wiping it away. In reality, chemical agents require specific contact time—known as dwell time—to break down outer cell walls and effectively neutralize pathogens.
High-Touch Hotspots Most People Overlook
When cleaning under time constraints, high-touch focal points are frequently missed. Local cleaning technicians pay special attention to areas where hands frequently make contact:
Kitchen Hotspots
- Cabinet Handles and Drawer Pulls: Subjected to grease and raw food residue during cooking preparation.
- Refrigerator Door Seals & Handles: Moisture traps within rubber gaskets foster mildew and harbor bacteria.
- Appliance Control Panels: Microwave buttons, oven dials, and coffee maker switches accumulate skin oils and food splatter.
- Kitchen Sink Basin and Flange: Sinks often carry higher bacterial counts than toilet seats due to raw meat preparation and food scraps.
Bathroom Hotspots
- Flush Handles & Toilet Base Bolts: High-touch contact points that require targeted germicidal treatments.
- Faucet Aerators & Handles: Mineral deposits and damp micro-environments allow biofilm to form around spouts.
- Light Switches & Door Knobs: Touched continuously before and after hand washing.
- Shower Curtain Liners & Grout Lines: High humidity creates ideal conditions for black mold (Stachybotrys chartarum) and soap scum buildup.
Professional Room-by-Room Sanitization Workflows
To achieve spotless results without repeating steps or transferring germs across rooms, professionals follow a top-to-bottom, dry-to-wet cleaning methodology.
The Kitchen Protocol: From Food Prep to Sparkle
A systematic kitchen cleanup prevents cross-contamination between raw food zones and dining spaces.
Step 1: Declutter and Dry Dust
Remove all items from counter surfaces, including small appliances and cutting boards. Use a microfiber duster to clear dust from top cabinet trim, range hood tops, and light fixtures.
Step 2: Apply Pre-Treatment Solutions
Apply a dedicated degreaser to stovetops, range hoods, and backsplash areas. Spray a non-abrasive disinfectant across counter surfaces and inside sink basins, allowing the product to rest for its full recommended dwell time (typically 3 to 10 minutes).
Step 3: Mechanical Scrubbing & Wiping
Using a color-coded microfiber cloth (e.g., green for kitchen surfaces), scrub counter areas in an overlap pattern. Microfiber synthetic fibers possess split structures that trap micro-particles rather than smearing them. Clean cabinet faces, appliance exteriors, and microwave interiors.
Step 4: Sink Decontamination & Floor Care
Scrub sink basins using a gentle scouring paste or baking soda paste, followed by a hot water rinse. Sanitize the garbage disposal baffle using citrus-infused vinegar or EPA-registered sanitizing tablets. Finish by vacuuming and damp-mopping hard surface flooring with a neutral pH floor cleaner.
The Bathroom Protocol: Eradicating Biofilm and Moisture Issues
Bathrooms demand specialized chemistry to dissolve mineral scale, soap scum, and uric acid while killing mold spores.
Step 1: Ventilation & Dusting
Turn on the exhaust fan to maintain fresh airflow. Dust light fixtures, exhaust fan covers, vanity mirrors, and baseboards.
Step 2: Toilet & Urinal Decontamination
Apply a thick, acidic bowl cleaner inside the toilet rim to break down hard water scale. Spray an EPA-registered disinfectant across the tank, lid, seat, hinge assemblies, outer porcelain bowl, and floor base. Allow appropriate contact time before wiping from the cleanest point (the tank) down to the dirtiest point (the floor base).
Step 3: Shower Tile, Tub, and Glass Care
Spray tub walls and glass doors with a soap scum remover. Use a medium-bristle detail brush along grout lines and sliding door tracks. Rinse thoroughly with warm water, and dry glass enclosures using a rubber squeegee to prevent hard water spotting.
Step 4: Vanity, Mirror, and Hardware Polish
Clean vanity countertops and sink basins. Polish chrome fixtures with a dry microfiber cloth to remove water marks and leave a reflective luster.
Prevent Cross-Contamination with Color-Coded Microfiber
Professional cleaners strictly prohibit using the same rags across different rooms. Cross-contamination occurs when bacterial cultures from toilet areas are inadvertently spread onto kitchen food preparation surfaces. Implementing a color-coded microfiber system ensures total hygienic separation:
- Red Cloths: High-risk bathroom areas (toilets, urinals, bidets).
- Yellow Cloths: Low-risk bathroom surfaces (sinks, mirrors, tub surrounds).
- Green Cloths: Kitchen food preparation counters, tables, and cabinets.
- Blue Cloths: Glass surfaces, mirrors, and stainless steel polishing.
Sanitization Protocol Quick-Reference Guide
| Zone / Surface | Target Contaminants | Recommended Cleaning Strategy | Optimal Dwell Time | Recommended Frequency |
|---|---|---|---|---|
| Kitchen Counters | E. coli, Salmonella, grease | Eco-friendly multi-surface disinfectant | 3 – 5 Minutes | Daily |
| Kitchen Sinks | Biofilm, food particles, mold | Non-abrasive scrub + EPA sanitizer | 5 – 10 Minutes | Daily |
| Bathroom Toilets | Uric acid, viruses, bacteria | Acidic bowl cleaner + surface germicide | 10 Minutes | Twice Weekly |
| Shower Tile & Grout | Soap scum, mildew spores | Alkaline soap scum remover + detail brush | 5 – 10 Minutes | Weekly |
| High-Touch Switches | Skin oils, human rhinovirus | Microfiber dampened with 70% Isopropyl Alcohol | 1 – 2 Minutes | Daily |
Eco-Friendly vs. Hospital-Grade Products: Choosing the Right Solution
Homeowners frequently debate whether natural, eco-friendly cleaners are as effective as industrial-strength chemical disinfectants. Modern advancements in green chemistry have made non-toxic cleaning products exceptionally reliable for home environments.
- Thymol & Botanical Disinfectants: Derived from thyme oil, these botanical agents provide EPA-registered antimicrobial protection without harsh fumes, making them ideal for households with young children or pets.
- Hydrogen Peroxide-Based Formulas: Hydrogen peroxide breaks down into harmless water and oxygen molecules while aggressively oxidizing bacterial cell walls. It acts as an excellent, non-toxic bleach alternative for grout brightening.
- Quaternary Ammonium Compounds (“Quats”): Widely used in hospital-grade applications for heavy-duty disinfection. While effective, they require thorough rinsing on food contact surfaces.
Maintaining a Healthy Home with Local Professional Support
While daily spot-wiping keeps minor spills under control, maintaining a truly hygienic indoor environment requires regular deep sanitization. Busy schedules often make thorough scrubbing difficult to maintain consistently.
For busy households in Macomb County seeking top-tier results without sacrificing personal time, hiring a Professional house cleaning service in Chesterfield, MI ensures every nook and cranny is sanitized using safe, non-toxic products. Similarly, homeowners in Oakland County can rely on expert House cleaning services in Farmington Hills, MI to keep kitchens and bathrooms spotless, healthy, and stress-free year-round.
By understanding germ hotspots, adhering to proper dwell times, using color-coded tools, and establishing a routine schedule, you can protect your home’s health and enjoy immaculate living spaces every day.
